
How to use the AWS CLI to download entire folders
The instructions to configure the AWS CLI are included, but only step 3 needs to be repeated every time you want to download a folder once the CLI has been configured.
Step 1: Install the AWS CLI
Follow the steps in this AWS documentation here to install the CLI.
Step 2: Configure the AWS CLI
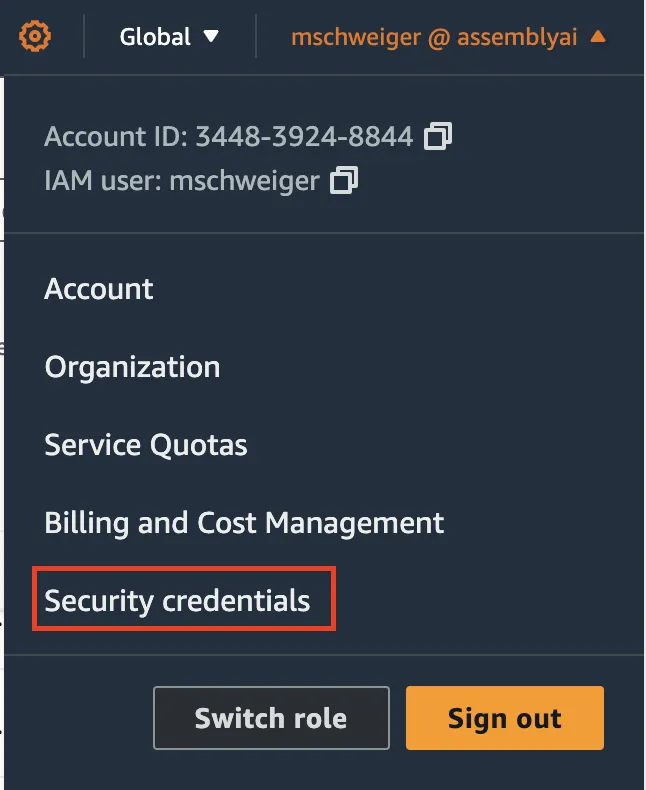
First, create an access key for your account in the AWS console. Click on your account username on the top right corner and click on Security credentials.
Scroll down to the Access keys section and click on “Create access key”.

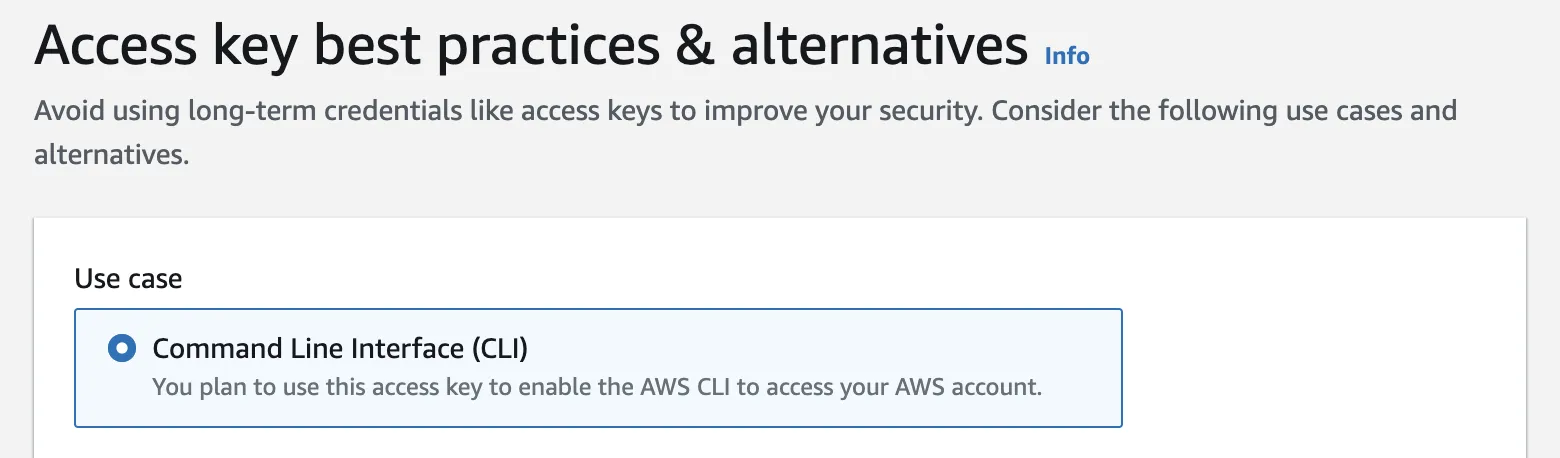
Choose “Command Line Interface (CLI), scroll down, acknowledge the confirmation, and click on “Next”.
As good practice, you should set a description tag.

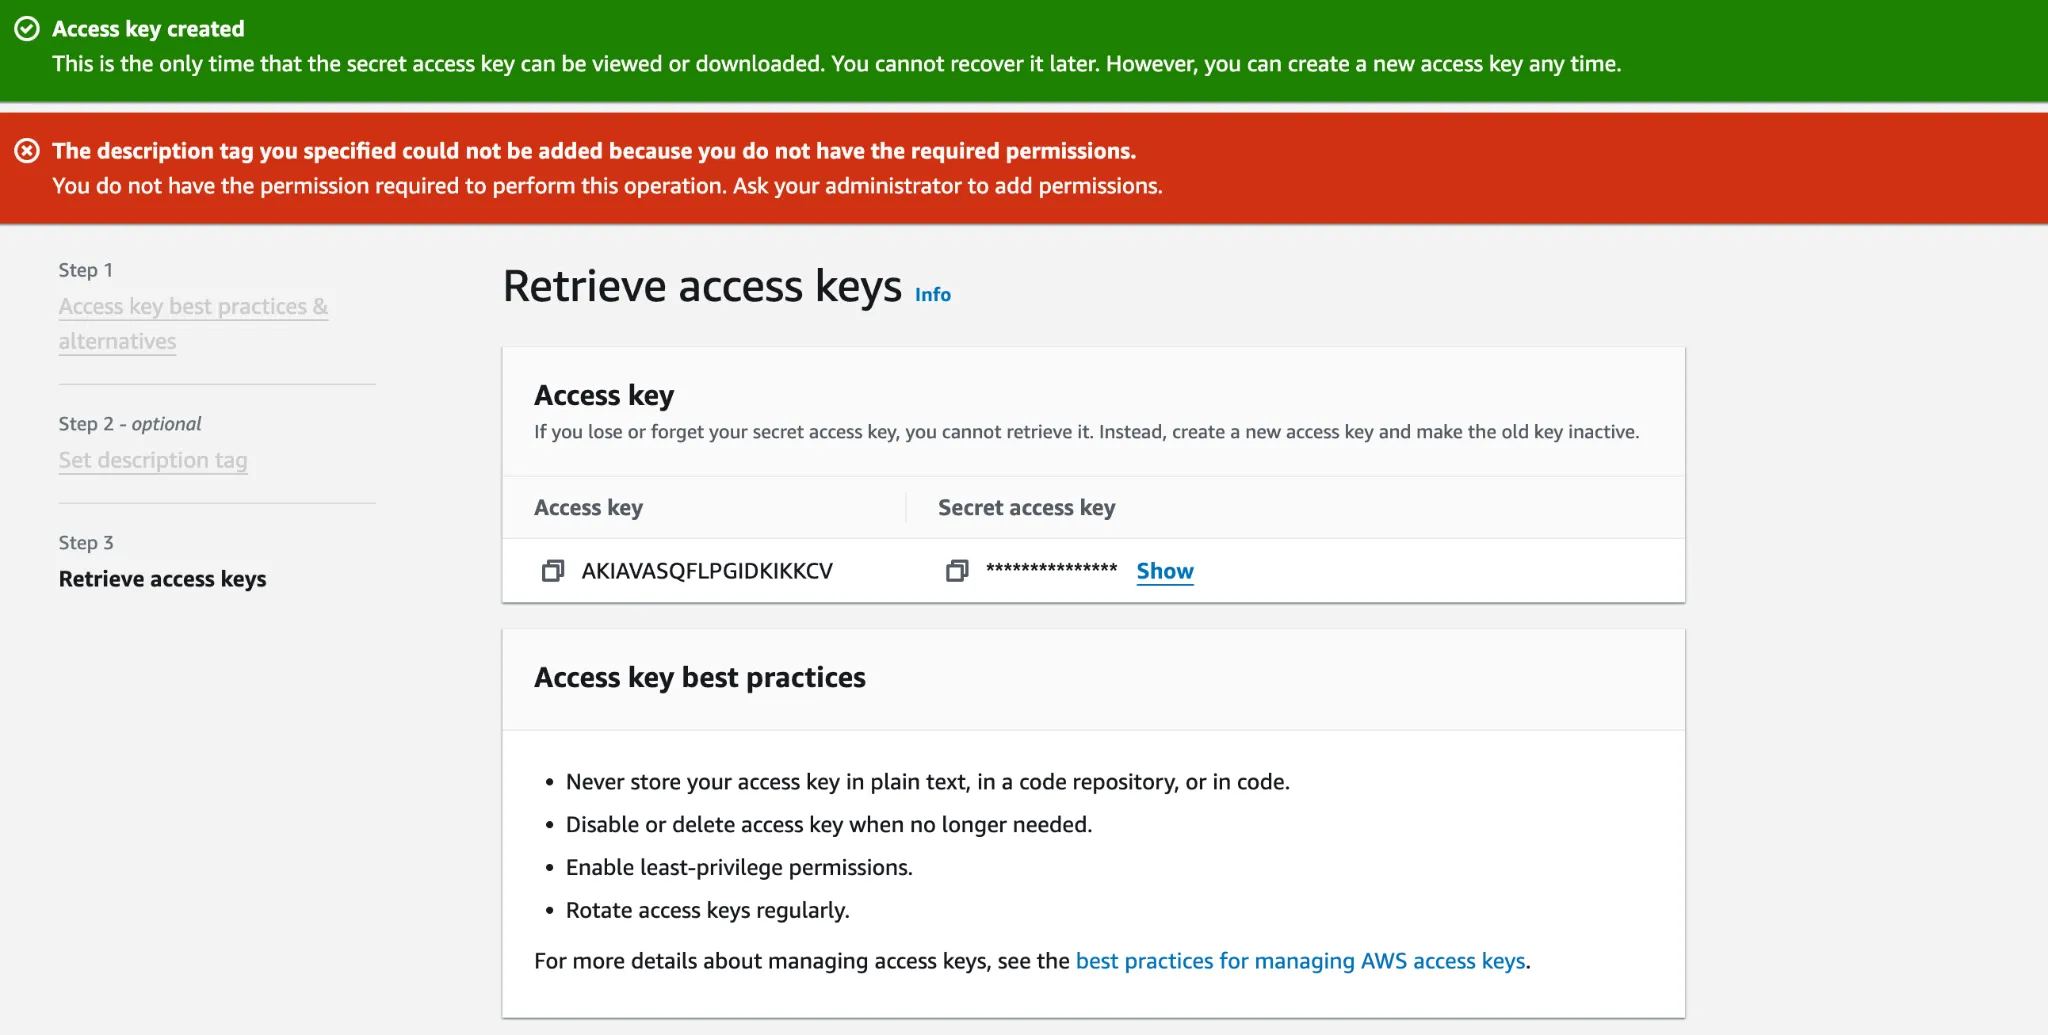
Your access key is created. You’ll need these credentials when we configure the CLI so keep this page open. Don’t be afraid of the red banners if you see them.
In your terminal, run:
aws configure
Then, insert your access key ID and hit enter.
Then, insert your secret access key and hit enter.
Default region name: `us-west-2`
Default output format: leave empty and hit enter
Congratulations, you have successfully configured the AWS CLI.
Step 3: Download your folder of files
Now, navigate to our Support S3 bucket.
Pro tip: you can sort by Type to list all of the folders within a directory first.

Select the folder of your choice and click on Copy S3 URI:
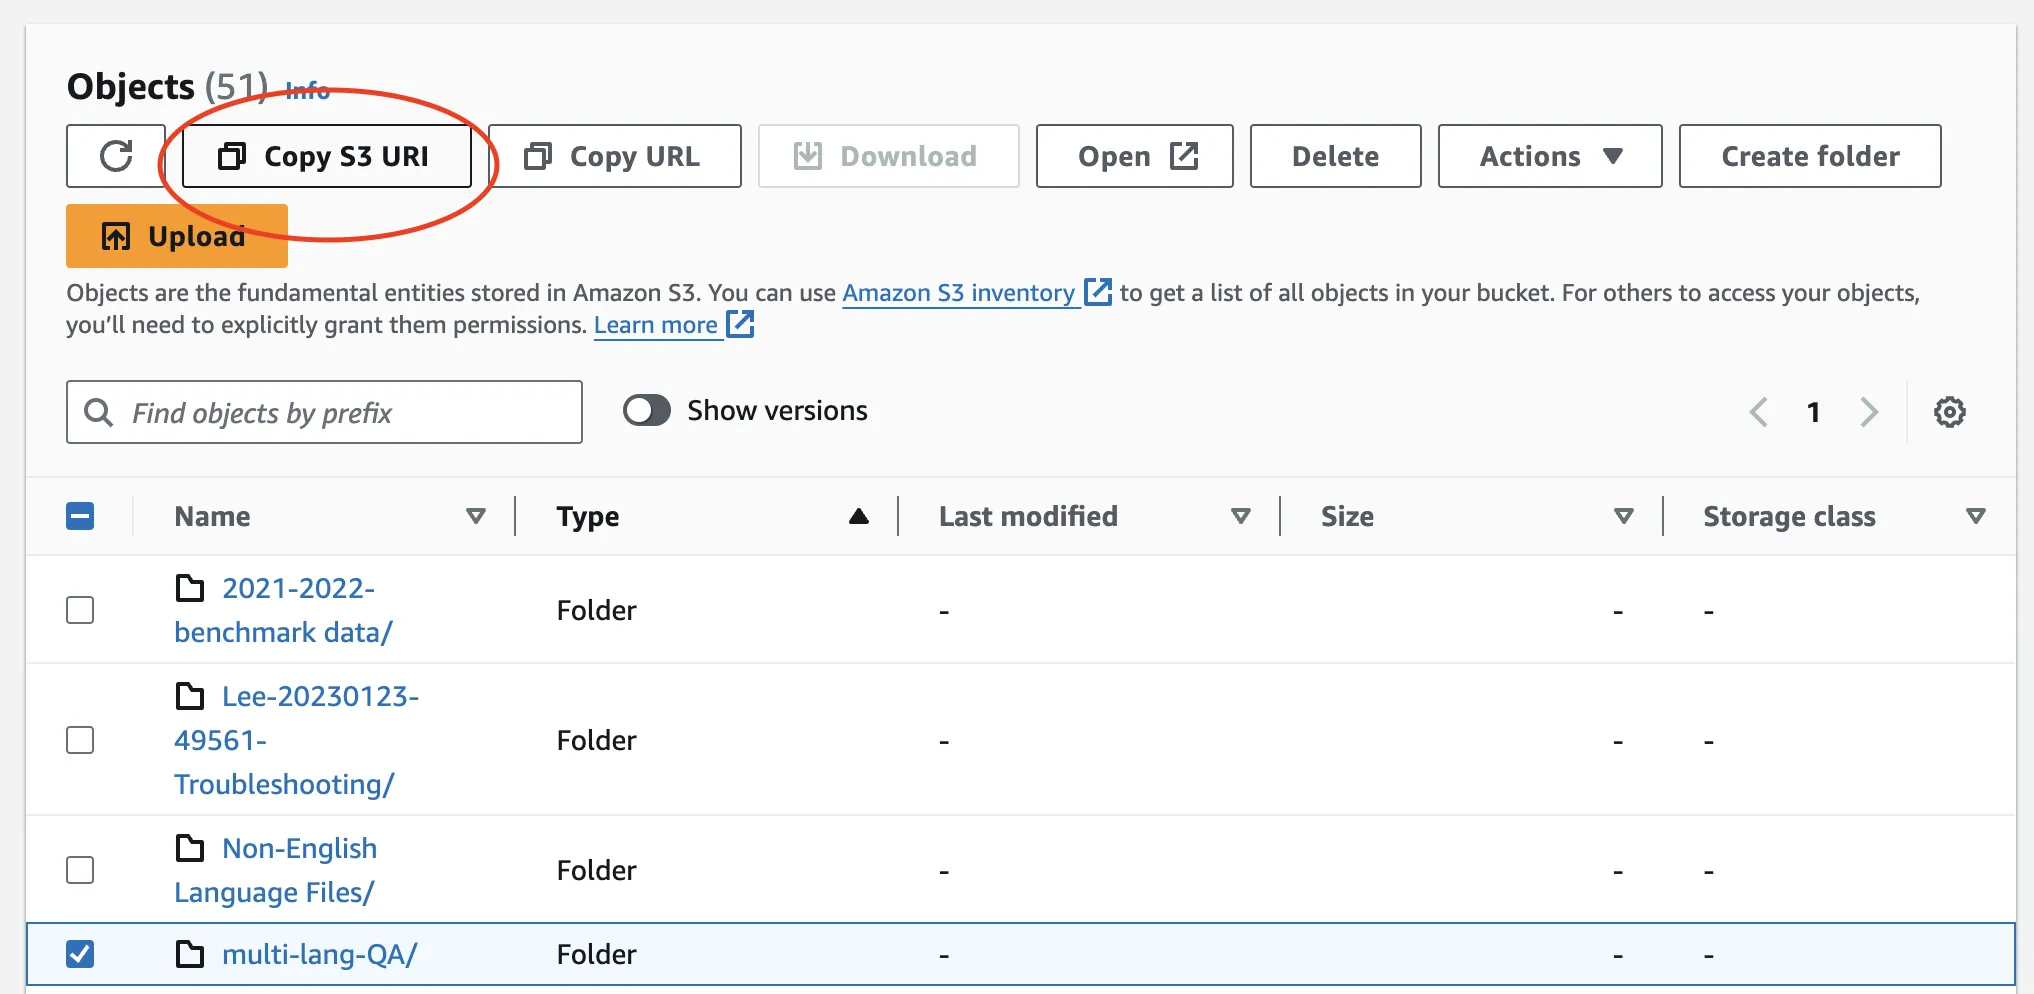
It will look something like this: s3://dev-aai-support-team/multi-lang-QA/
Now, go to your terminal and make a directory for the files that you want to download:
mkdir multilangfiles
Then, use this command to copy the files from S3 to your computer:
aws s3 cp —recursive s3://<bucket>/<folder> <local_folder>
Replace s3://<bucket>/<folder> with the S3 URI, and <local_folder> with the folder that you created.
Hit enter.
All your files will download into that directory.
Congratulations, you have successfully used the AWS CLI to download files from an S3 bucket!
Final remarks
One of the benefits of using an S3 bucket is that we can write code to quickly generate lots of pre-signed URLs for each file that can be used in testing, so that these files do not need to be repeatedly downloaded and uploaded. In a subsequent guide, we will outline how to do this.